|
Howdy, folks, Lee Roy here. On this page you can learn how to, without hardly any effort at all, draw your favorite Wackobilly just like an expert, me.
In this quick and easy tutorial I share with you my super simple techniques that make up my Wackobilly art style known the world over as the,
"Wackobilly School"
To follow this tutorial you will only need:
1) A sheet of paper
2) A pencil (and a sharpener and an eraser)
3) An ink pen
4) Some colored pencils
5) A sliver of artistic ability might be helpful but not necessary
(after all, look at yours truly!)
I'll wait here while you get that stuff. What? Back so soon?
Great! Let's get started!
Step #1: Choose Your Wackobilly.

For our tutorial purposes I have chosen Moleet The Bear.
Step #2: Figure Out What You Want Your Wackobilly To Be Doing.
This is crucial. You need a game plan. You just can't up'n start drawing your Wackobilly without knowing what you want him or her to be doing. You gotta get a grip! You gotta make these Wackobillies do exactly what you want them to do. You are their Master, they are your slaves!
I have decided that Moleet will be out foraging.
See how simple this is?
Step #3: With Pencil In Hand, Sketch Your Wackobilly Doing Your Bidding!
Below is my first rough draft. I took a 2B pencil and on the sheet of paper, both mentioned above, I sketched Moleet out foraging.
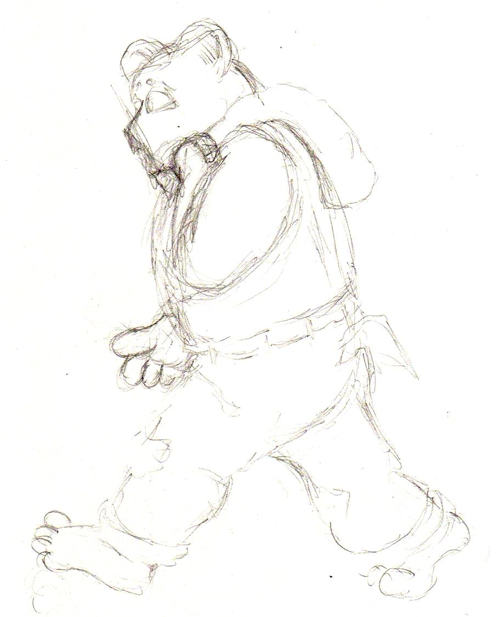
This was okay for starters, but Moleet just did not seem to have enough pep in his step. He just was not Wackobilly enough for what I demand out of these folks. So, I drew him again, anew and afresh. And having satisfied myself that he was stepping lively, I inked him in, thus:
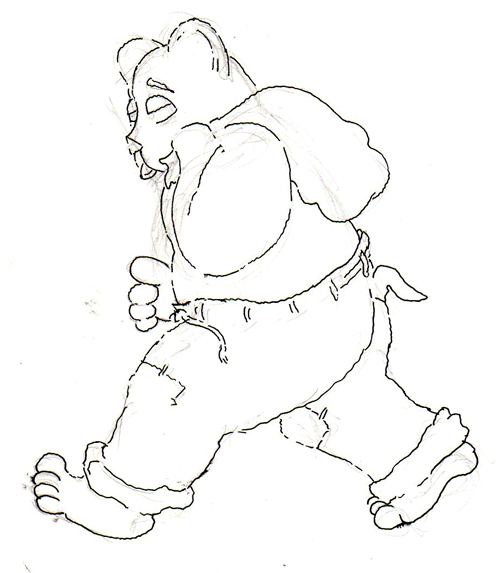
There! See? He's trucking along nicely now. See how ridiculously easy this is?
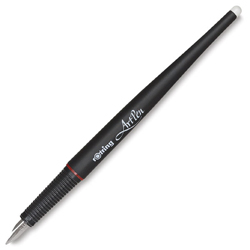
As with all other expert tutorials, I must say a word about the pen that I use almost exclusively. I mention this in order that you might use the same pen and thus give your Wackobilly the same feel.
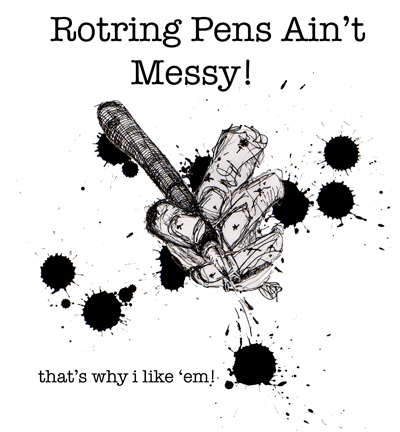
I use Rotring Art Pens. (seen below) So, if you wish to draw a true Wackobilly I suggest you buy a Rotring Art Pen (I use the EF tip most of the time).
And so remember what Lee Roy says:
Now once you've gotten your Wackobilly sketched and inked like I did, then you're going to want to color it in. So,
Step #4: Color In Your Wackobilly
Wait a minute! I got waaay ahead of myself, didn't I? I made the same mistake all other tutorials make, I just assume that you can draw just like me in the first place! How silly of me. I am going to have to back up a step or two, aren't I?
Hmmm, let's see, okay, forget those above four steps for now. We will have to digress and call this part of the tutorial, "How To Prepare Yourself To Be Able To Draw A Wackobilly Quickly And Easily."
Here is what you need to do to prepare yourself to draw a Wackobilly: You must first, Learn How to Draw (Somewhat).
Now don't get all down. I did not say that you need to learn how to draw "well" I just said you need to learn how to draw, "somewhat". Again I use myself as a prime example of someone who can "draw" but not very well, and yet I give pleasure to unconfirmed dozens with my doodling skills. On further reflection I should amend the above and say "Learn How To Doodle Well Enough, etc, etc." Yes, that's it.
The best way to learn how to draw and doodle well enough to draw a Wackobilly is to take some art lessons from a reputable art instructor. I did not do that, but you should. (I have an excuse for not sitting under proper tutelage; early on I was diagnosed with Autodidactus Delusionus commonly known as He Thinks He Can Do It Better All By Himself Disorder as disorder common among many aspiring artistic types.)
But if you are likewise afflicted and you do not wish to have some loony art teacher leering over your shoulder, then I recommend:
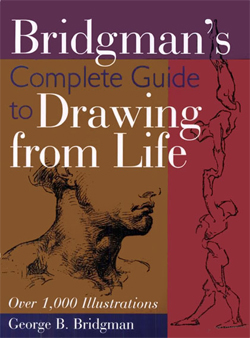
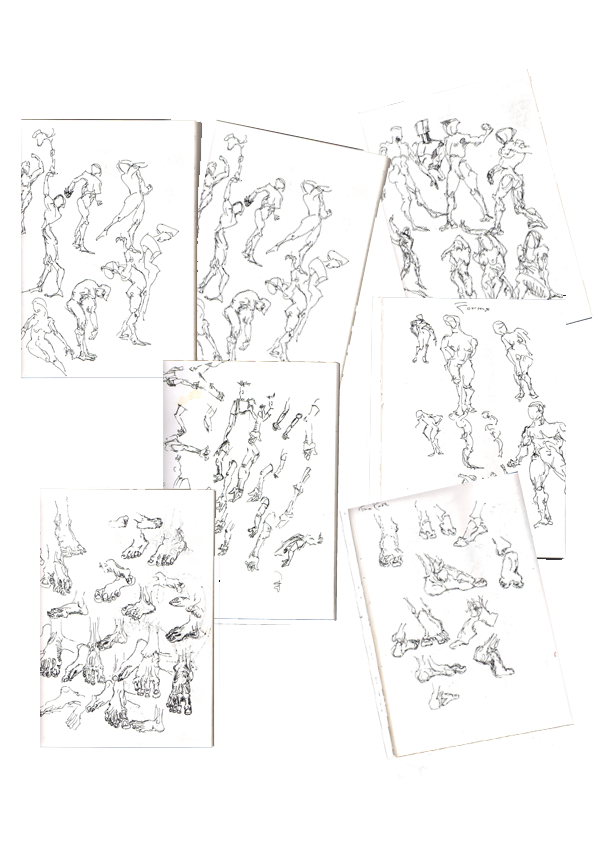
Now if you want to have your Wackobilly look authentic then you must study Bridgman. Without Bridgman's influence your Wackobilly may not cut the muster. Here are a few of my many sketches using his technique.
That brings us to another topic: Influences.
If you want your Wackobilly to look like my Wackobilly then you should also be influenced by those artists that have influenced me. (Though don't blame them; they are mostly dead and could not stop me.)
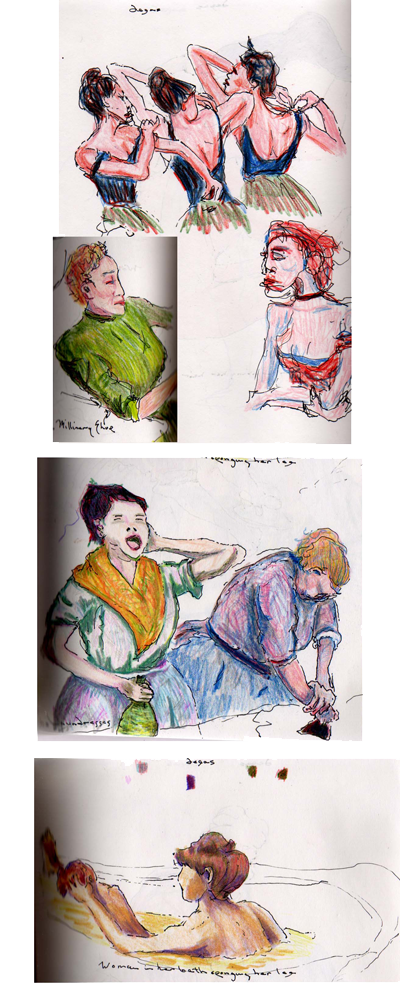
So as not to completely frustrate you, just for the sake of this quick and easy tutorial, I just choose two, Degas and Van Gogh.
Here are just a few of my Degas studies.
To see my Van Gogh Sketchbook click on the following image. This will aid you in your pursuit of drawing a simple and easy Wackobilly. By studying my approach to Van Gogh you will discover the super simple technique that helps me doodle with such ease.

There, now wasn't that simple?
Okay, NOW we're ready to go back to Step #4: Color In Your Wackobilly!
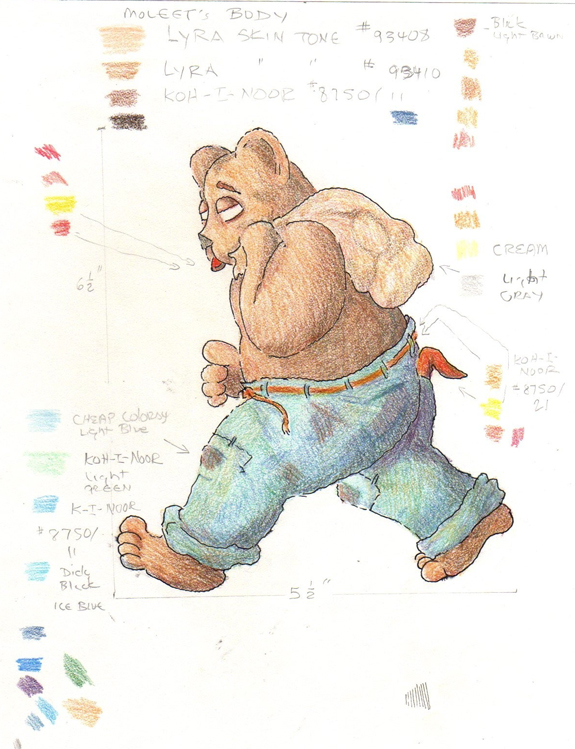
The first thing I do is lightly color in my Wackobilly.
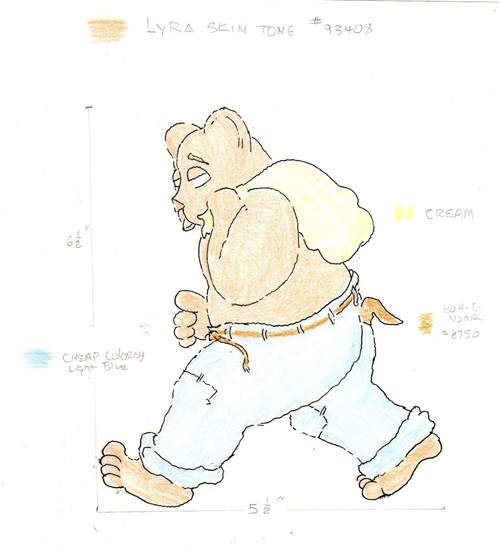
Hold it! I Should say something about the size of this drawing; Moleet is about 6.5 by 5.5 inches. I draw large images that I scan and shrink down in the magic place called Photoshop Elements. Then I put all the images together to come up with a strip, but that's another tutorial I am working on "How To Use Photoshop Elements To Put Together Your Own Bumble Bee Strip In Twenty Five Easy Lessons."
For colored pencils I use the following:
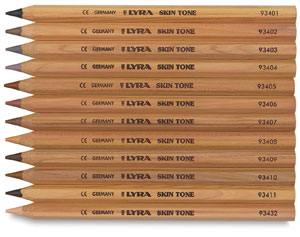
I use Lyra Skintone Giant Pencils for my skintones, and trees, and such.
I also use these.

And these:
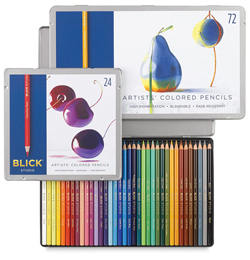
And if I use these so should you or your Wackobilly might be not quite measure up.
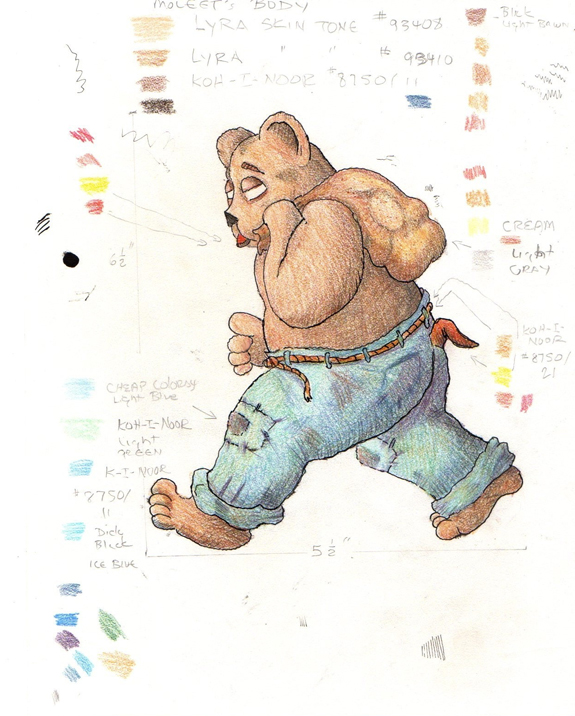
So, now that you have lightly colored in your Wackobilly with the proper colored pencils, you need to keep coloring it in. Like this:
And this...
Now, what you might need to do, like I always do, is to enhance the lines of your Wackobilly. So, take your Rotring Art Pen with your EF nib and...
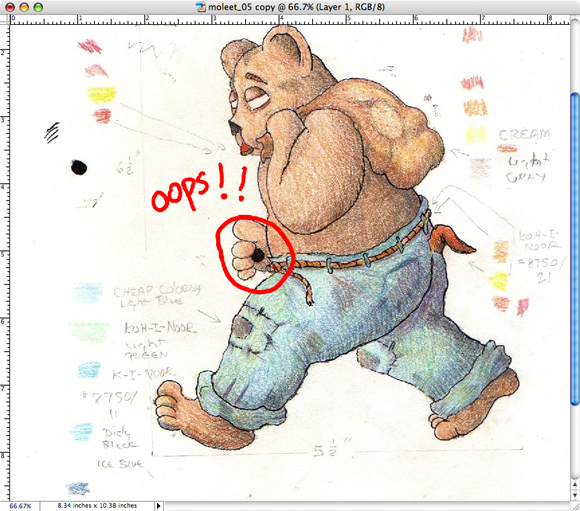
Well, even the masters have troubles and so do we doodlers: I dripped ink on my Wackobilly!
Well, no use crying overt spilled ink. That's why we have Photoshop. What we're going to have to do is to scan our image (which I did above.) And then we're going to have to use our selection tool and "cut out" a section of Moleet's side like this:

Now you copy the selection because you are going to have to move it on over to your Wackobilly's hand like this:
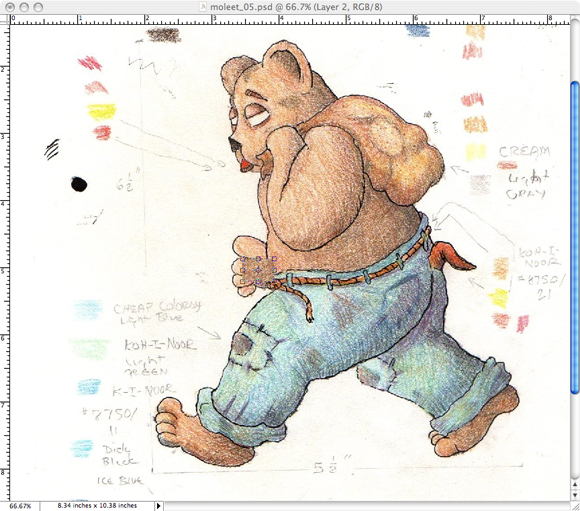
Now that you've moved your patch over your Wackobilly's hand you can use the eraser tool to erase your patch to match the hand. Just like I did:

See? You did it! You fixed your mistake as easy as pie!
Now what you need to do is to get rid of all that stuff around your Wackobilly. So, with your eraser tool in Photoshop just start erasing everything around your Wackobilly.
What you end up with is this:
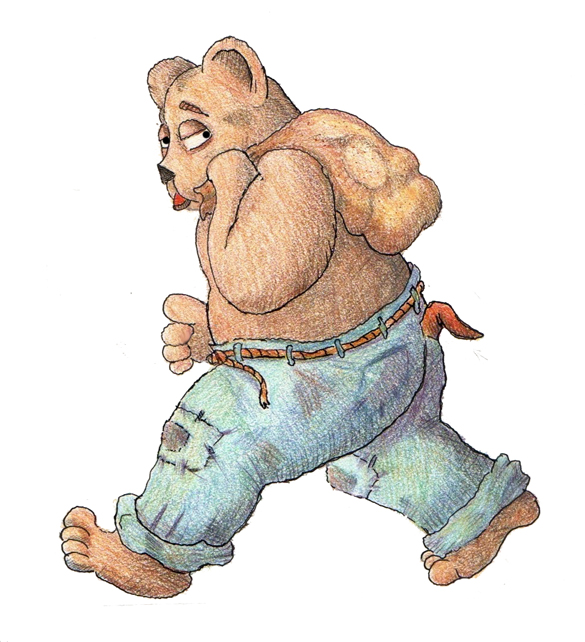
Tah-dah! See how quick and easy that was? It makes you wonder why more people don't just start drawing Wackobillies willy nilly everywhichaway. Kids? As easy as this is why aren't there more Wackobillies gracing refrigerator doors throughout this great land of ours?

|


